FAQ
How to create a user
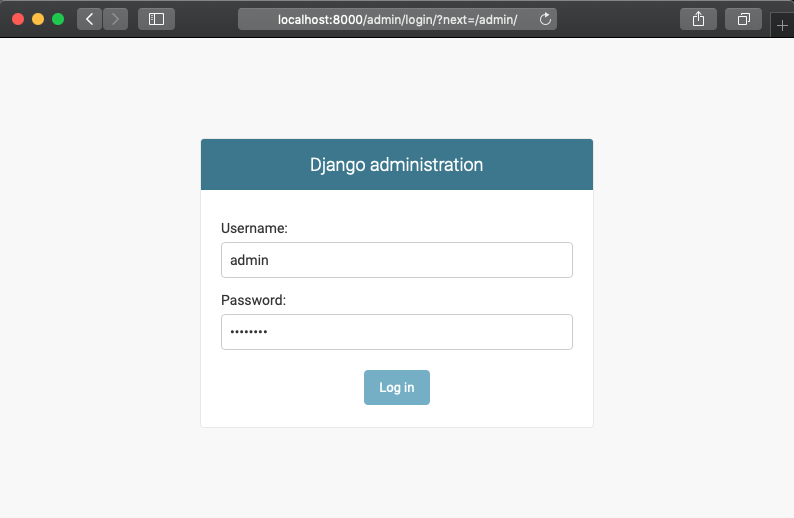
After running doccano webserver, login to the admin site(in the case of pip installation) via http://localhost:{port}/admin/. The below is the example of port 8000 and username admin. If you set your own port or username and password on running the server, please change to your one.
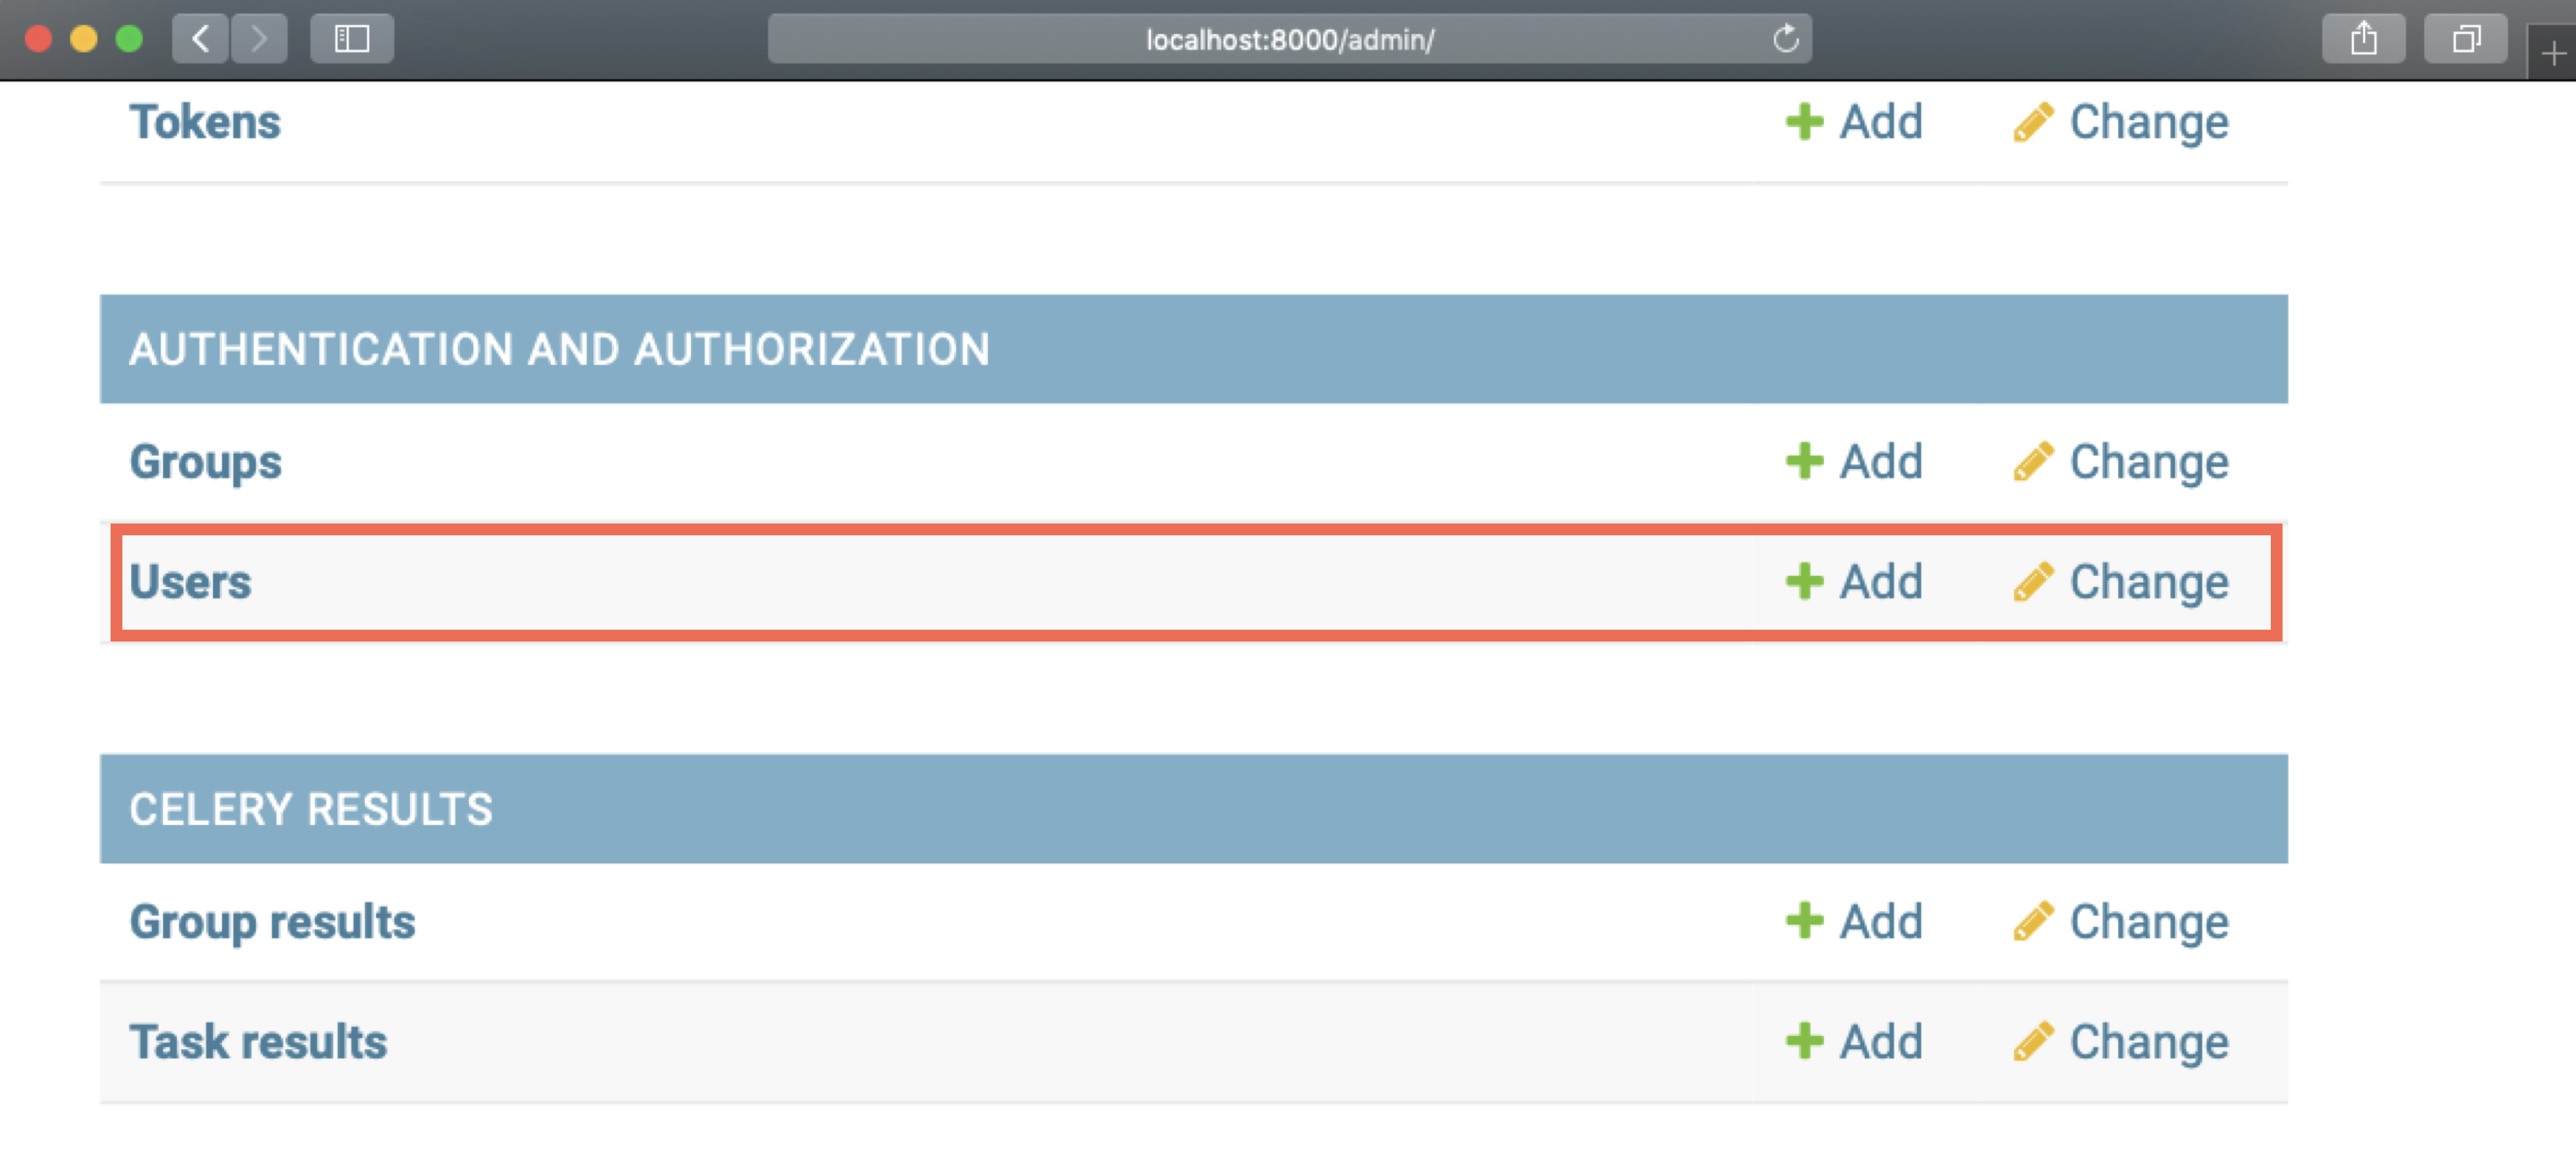
After login to the admin site, select Users:
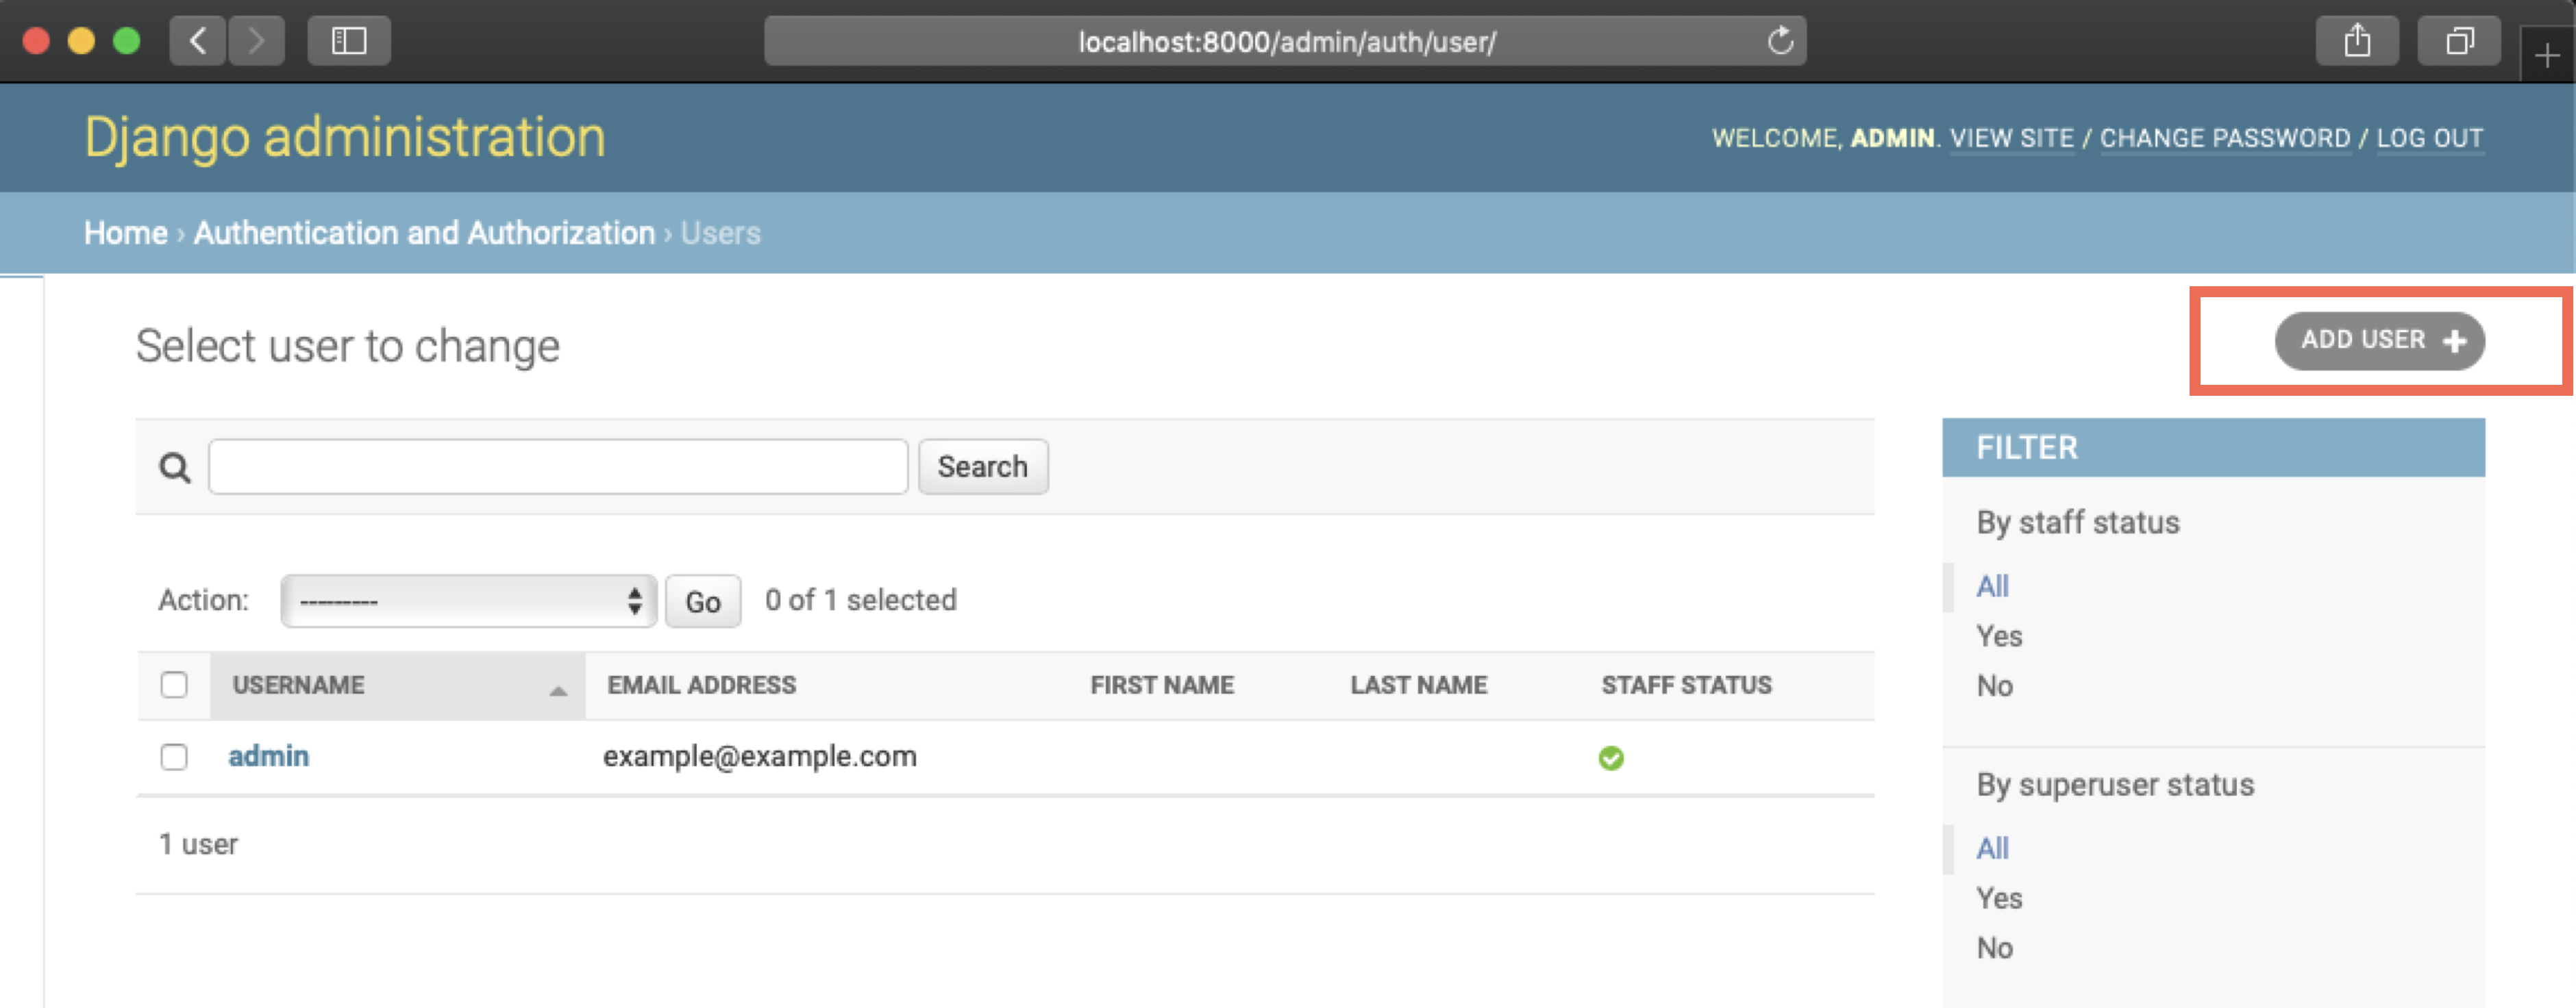
Select the ADD USER button in the upper right corner:
After entering the username and password for the new user, select the SAVE button:
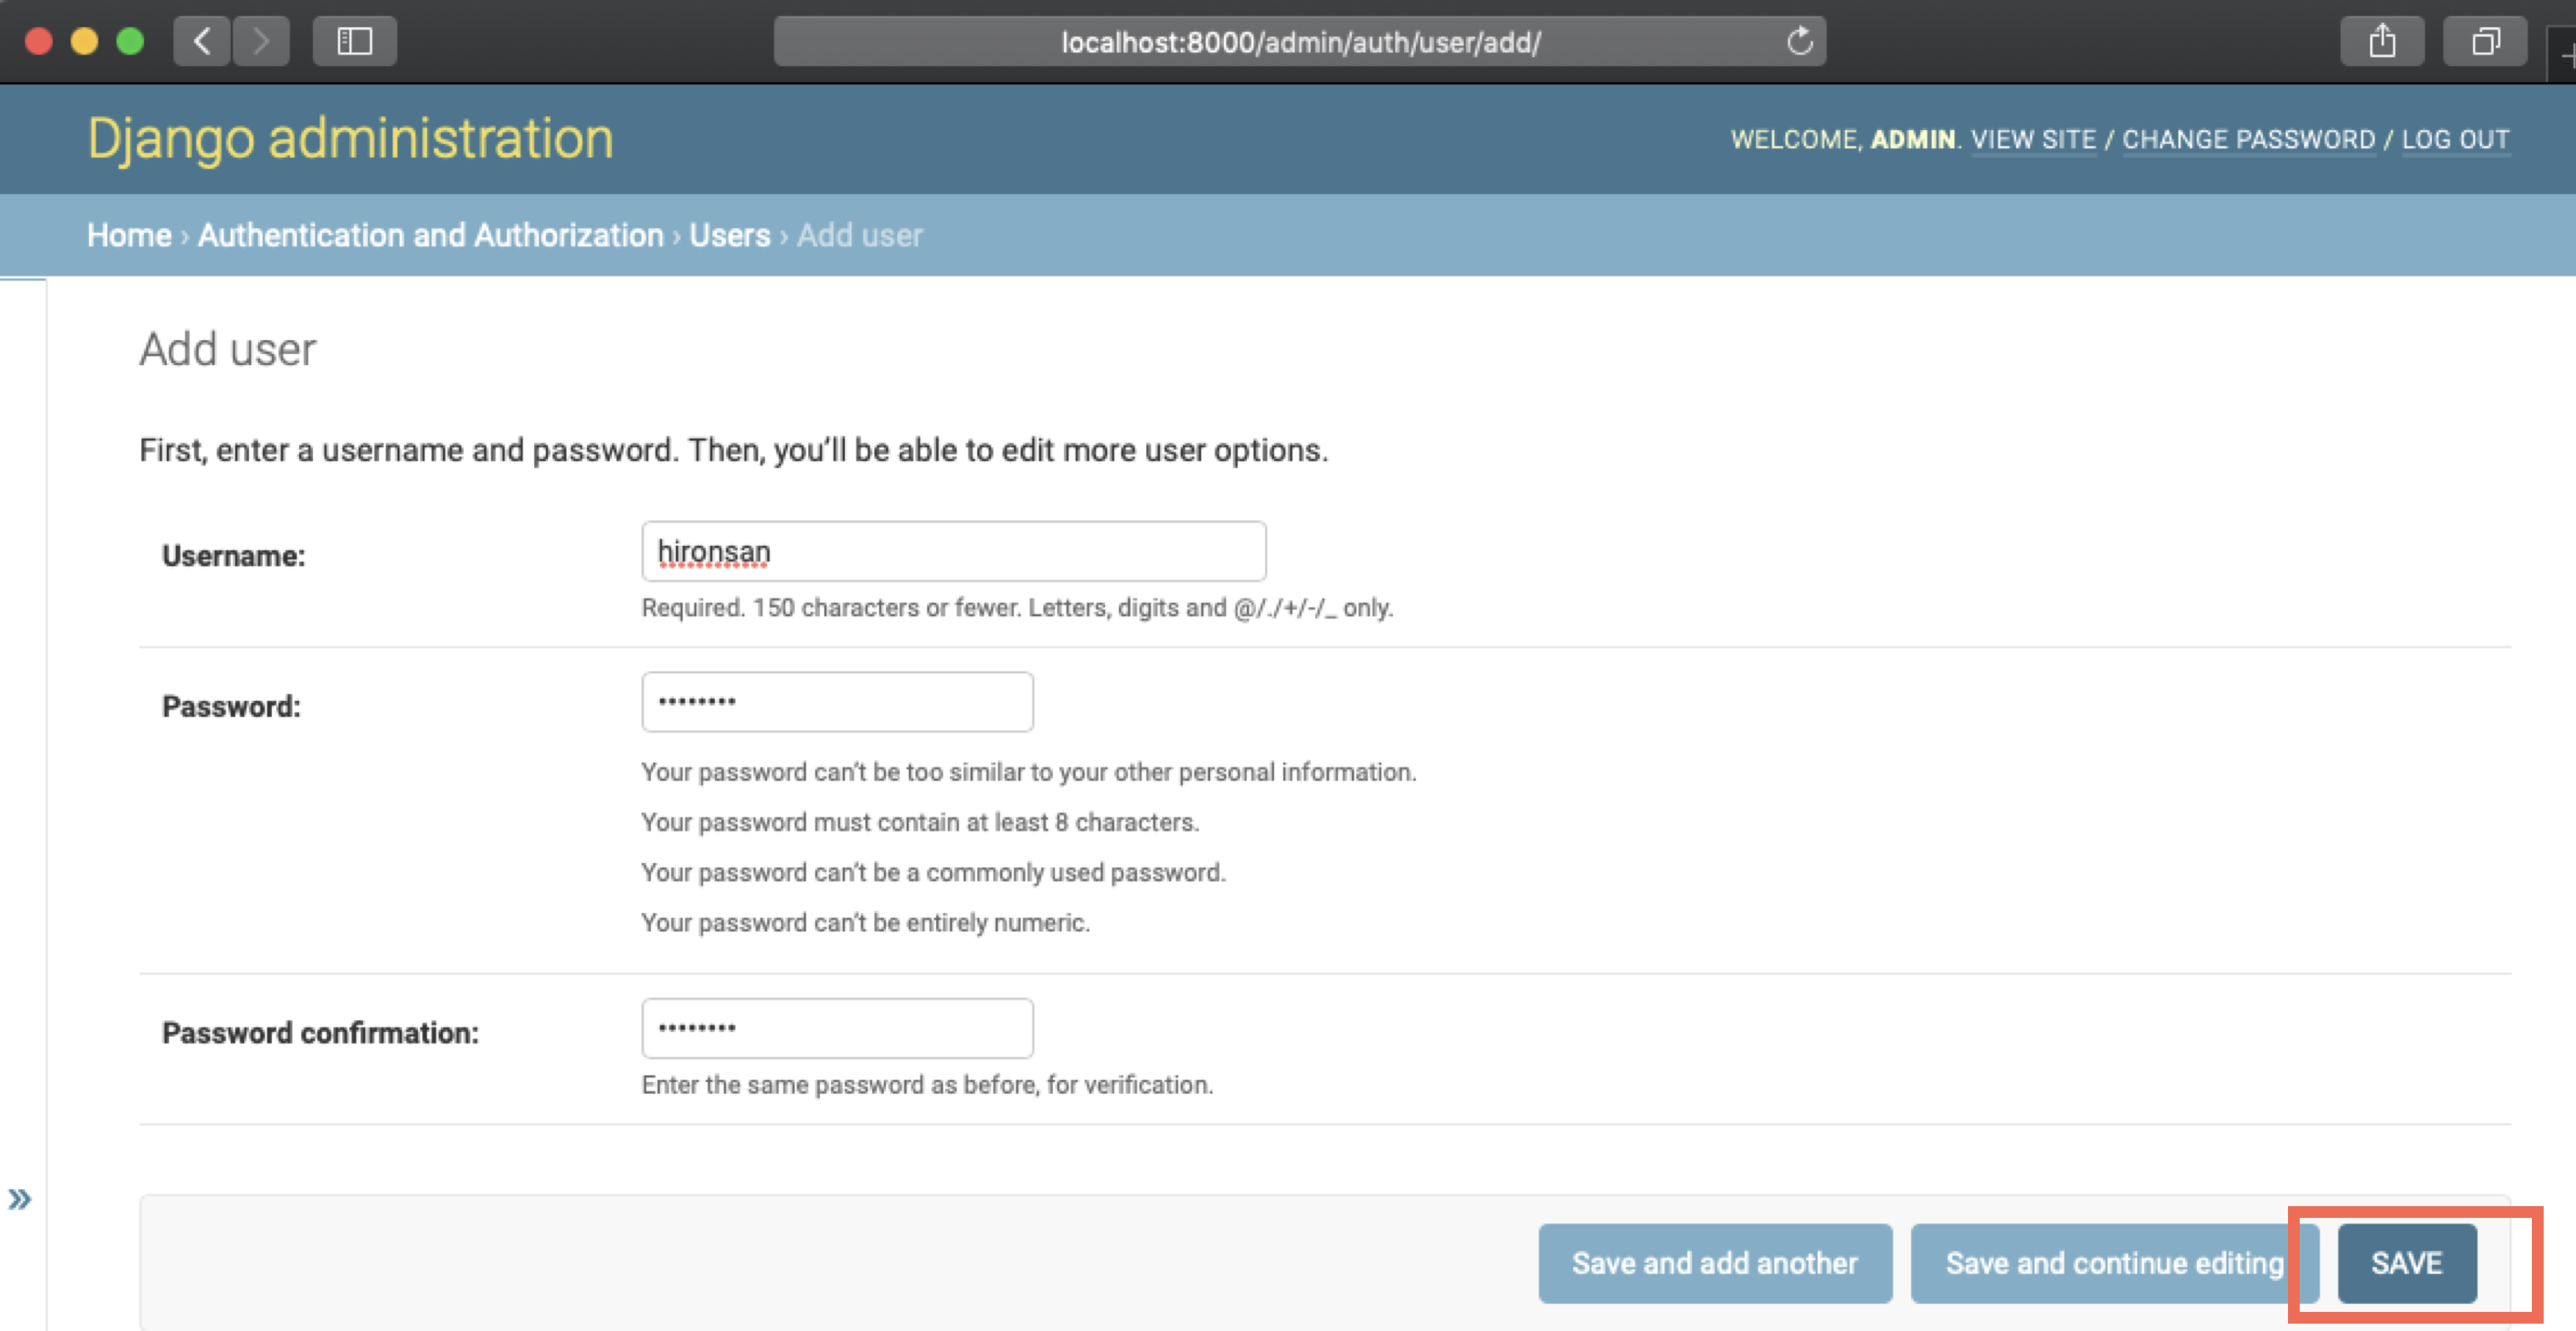
Congratulations. Now you are able to log in to doccano as a new user. After logging out of the admin site, try logging in as a new user.
How to add a user to your project
Note: This step assumes you have already created a new user. See How to create a user in detail.
After logging in to doccano, select your project. Note that you must be the administrator of the project to add users to the project.
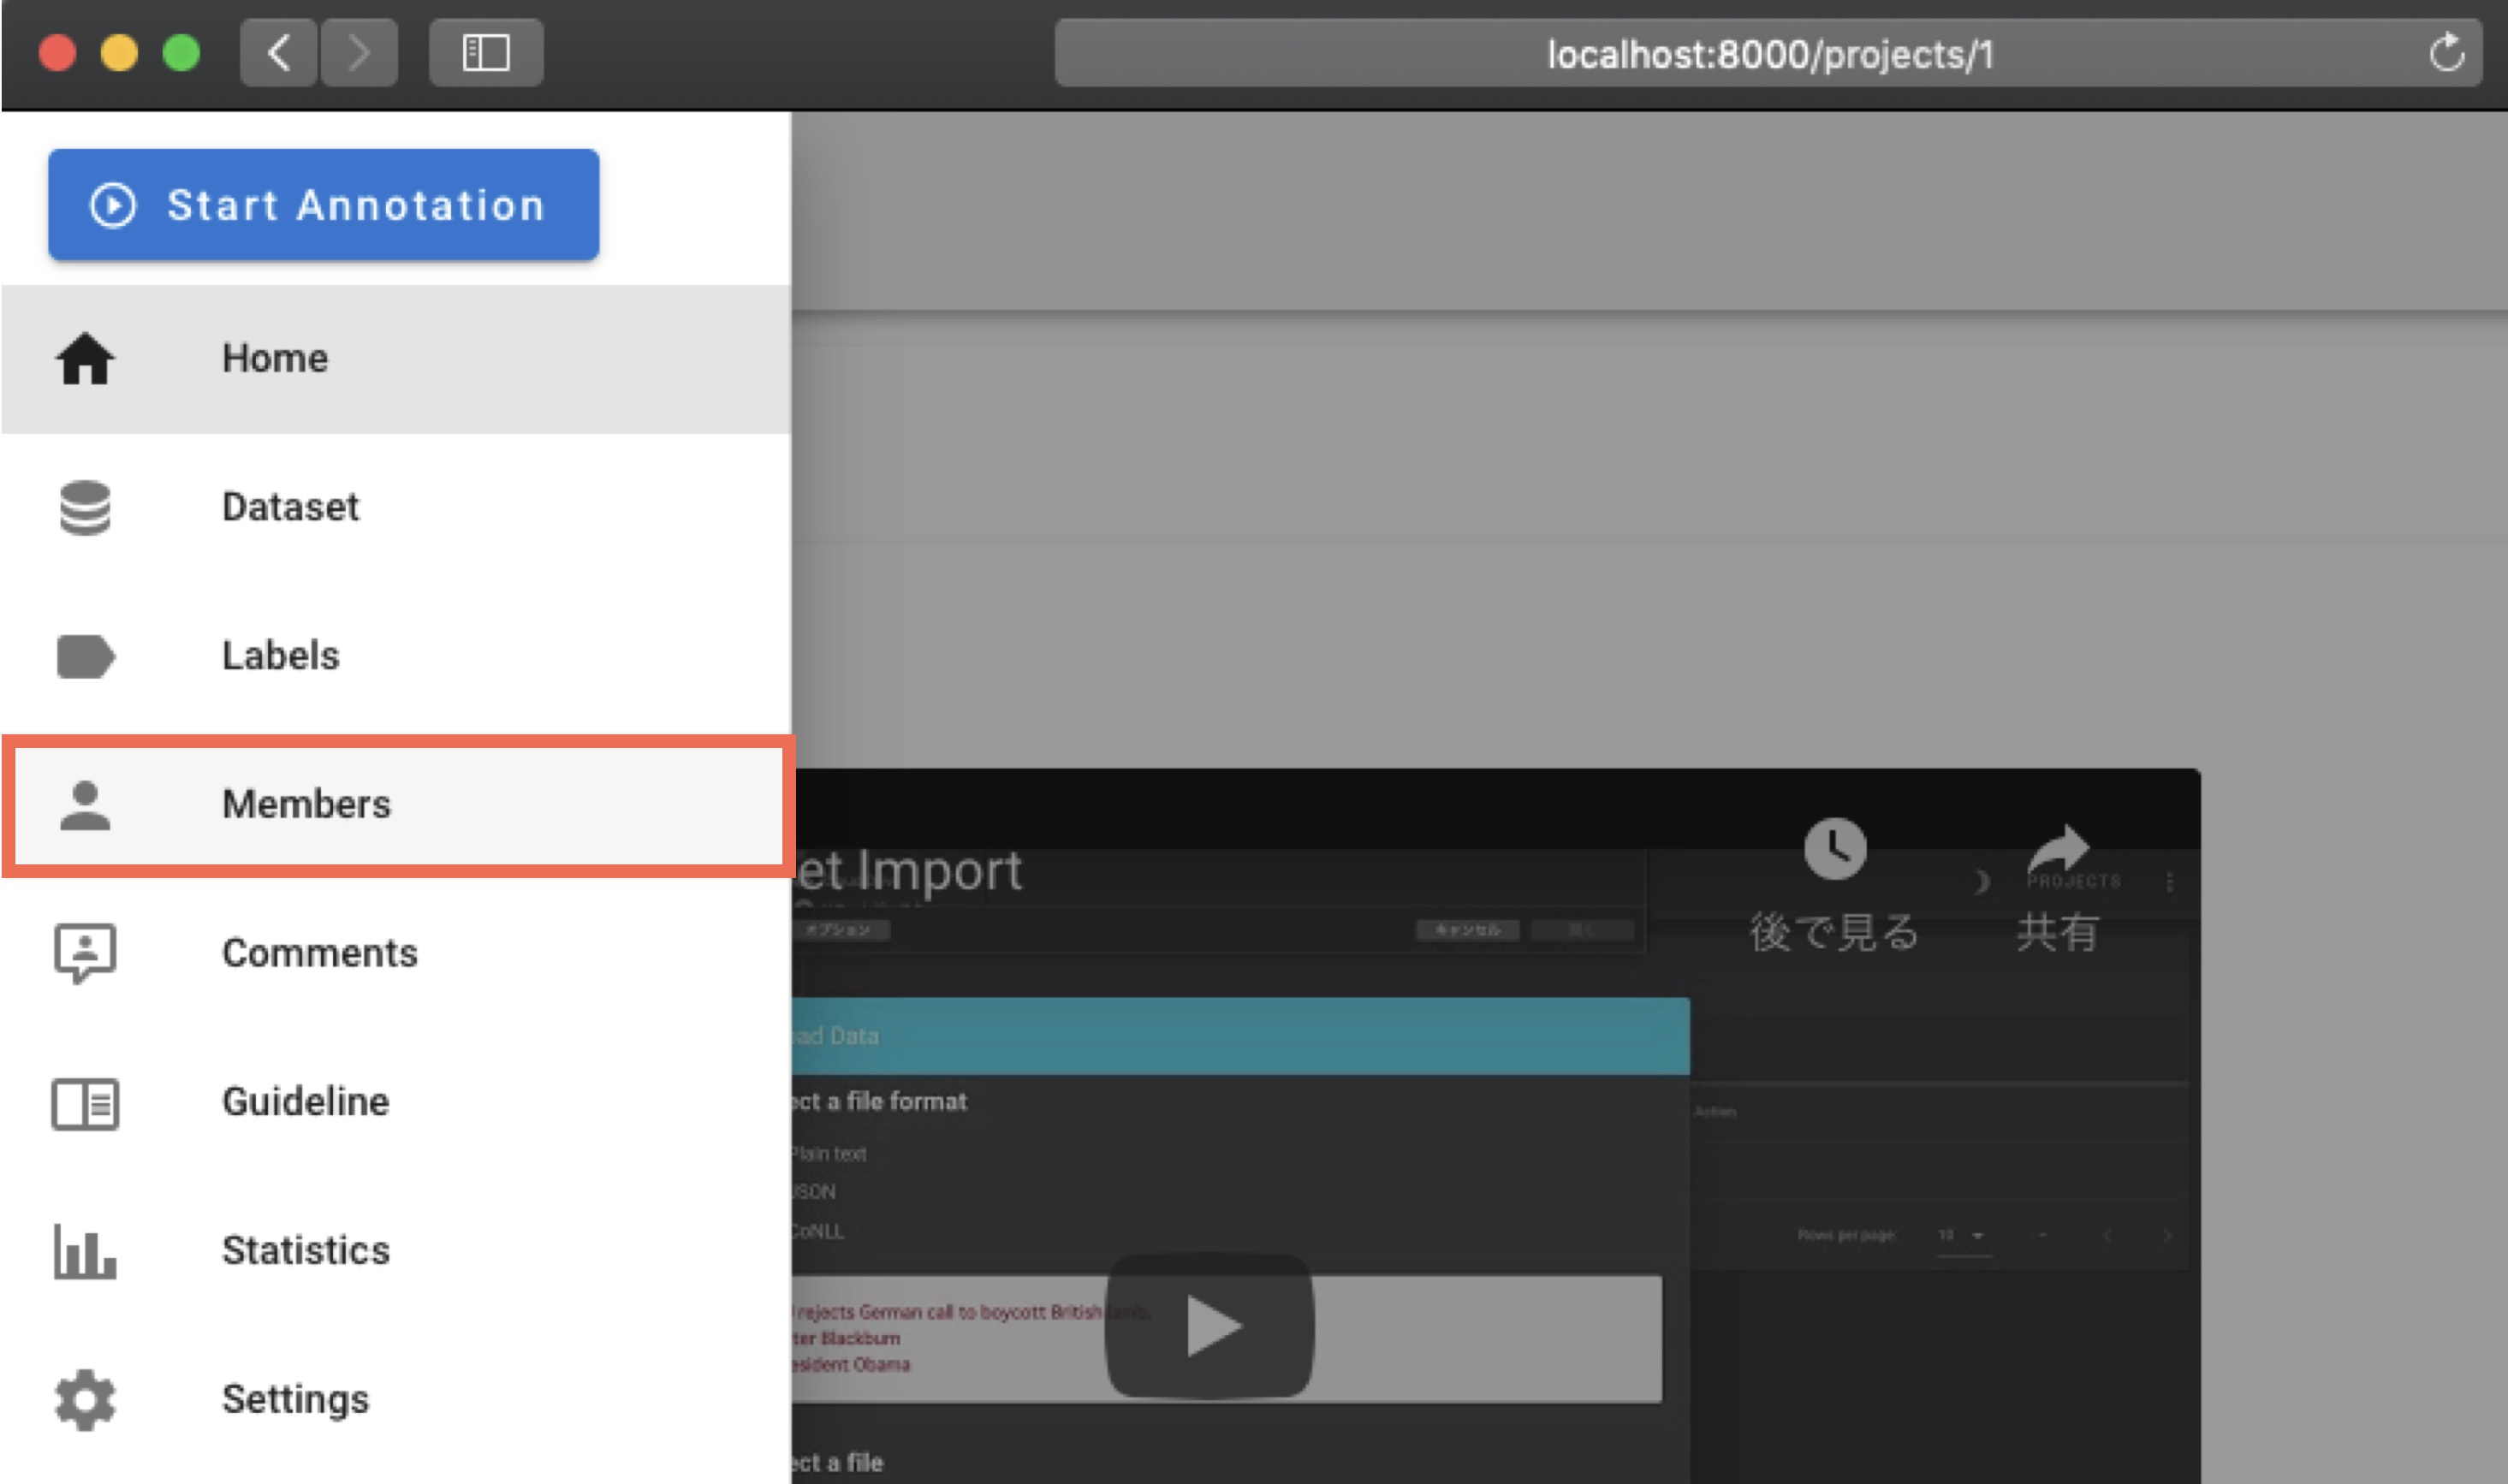
Select Members from the left side menu. If you are not the administrator of the project, Members will not be displayed.
Select the Add button to display the form. Fill in this form with the user name and role you want to add to the project. Then, select the Save button.

Congratulations. Now the new user are able to access the project.
How to change the password
After running doccano webserver, login to the admin site(in the case of pip installation) via http://localhost:{port}/admin/. Note that you need to have a staff permission to login to the admin site. If you don't have it, please ask the administrator to change your password.
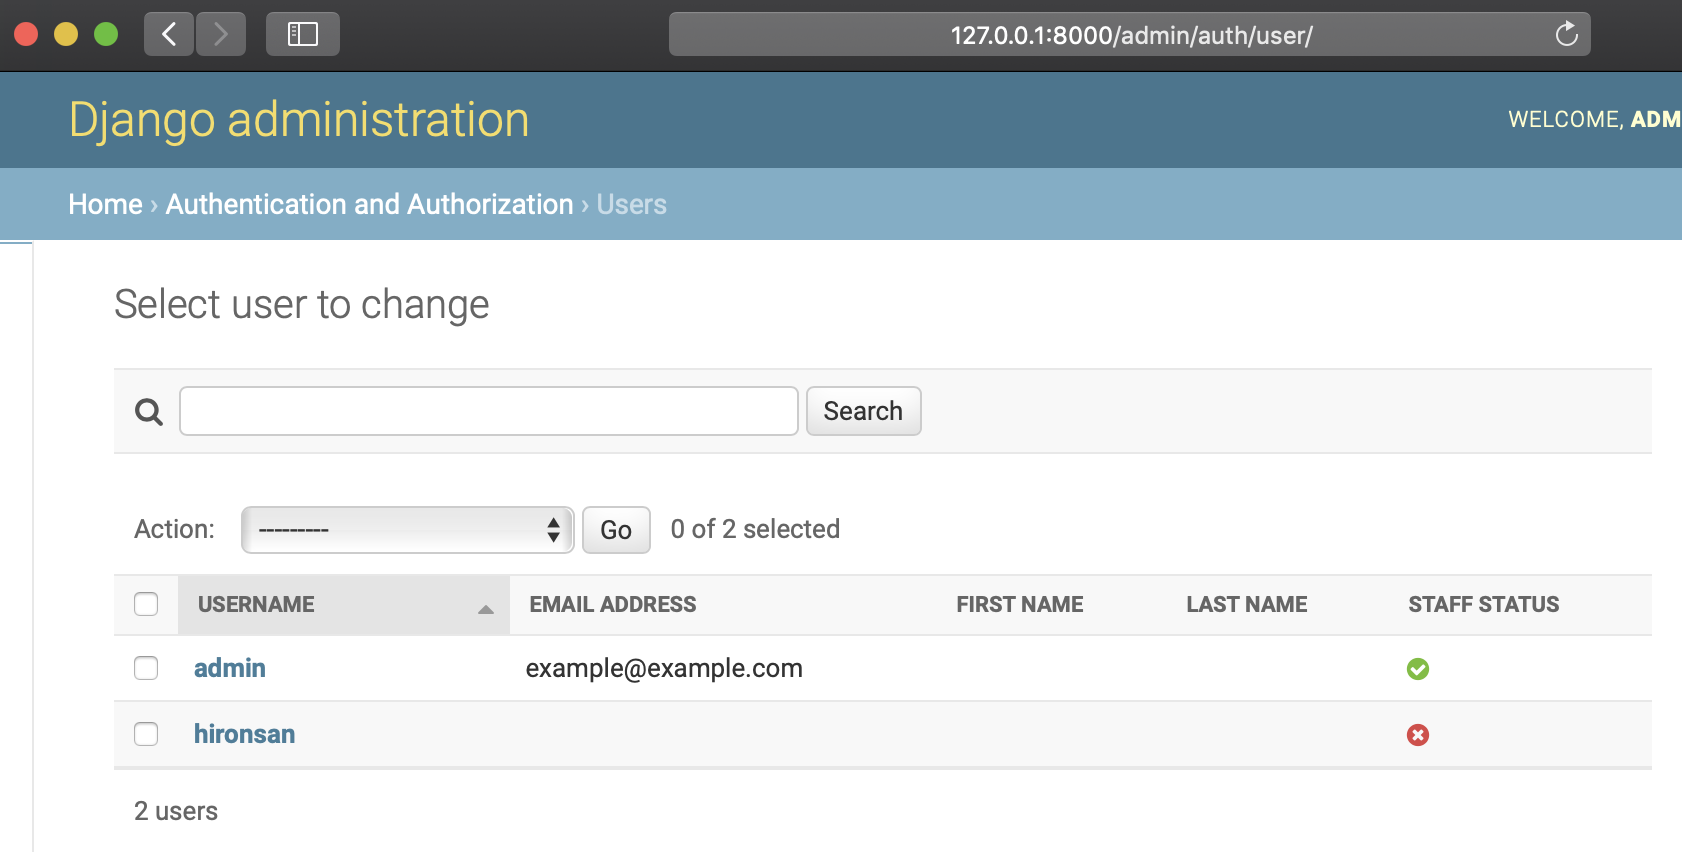
After login to the admin site, select Users:
Select the user you want to change the password:
Click this form link:

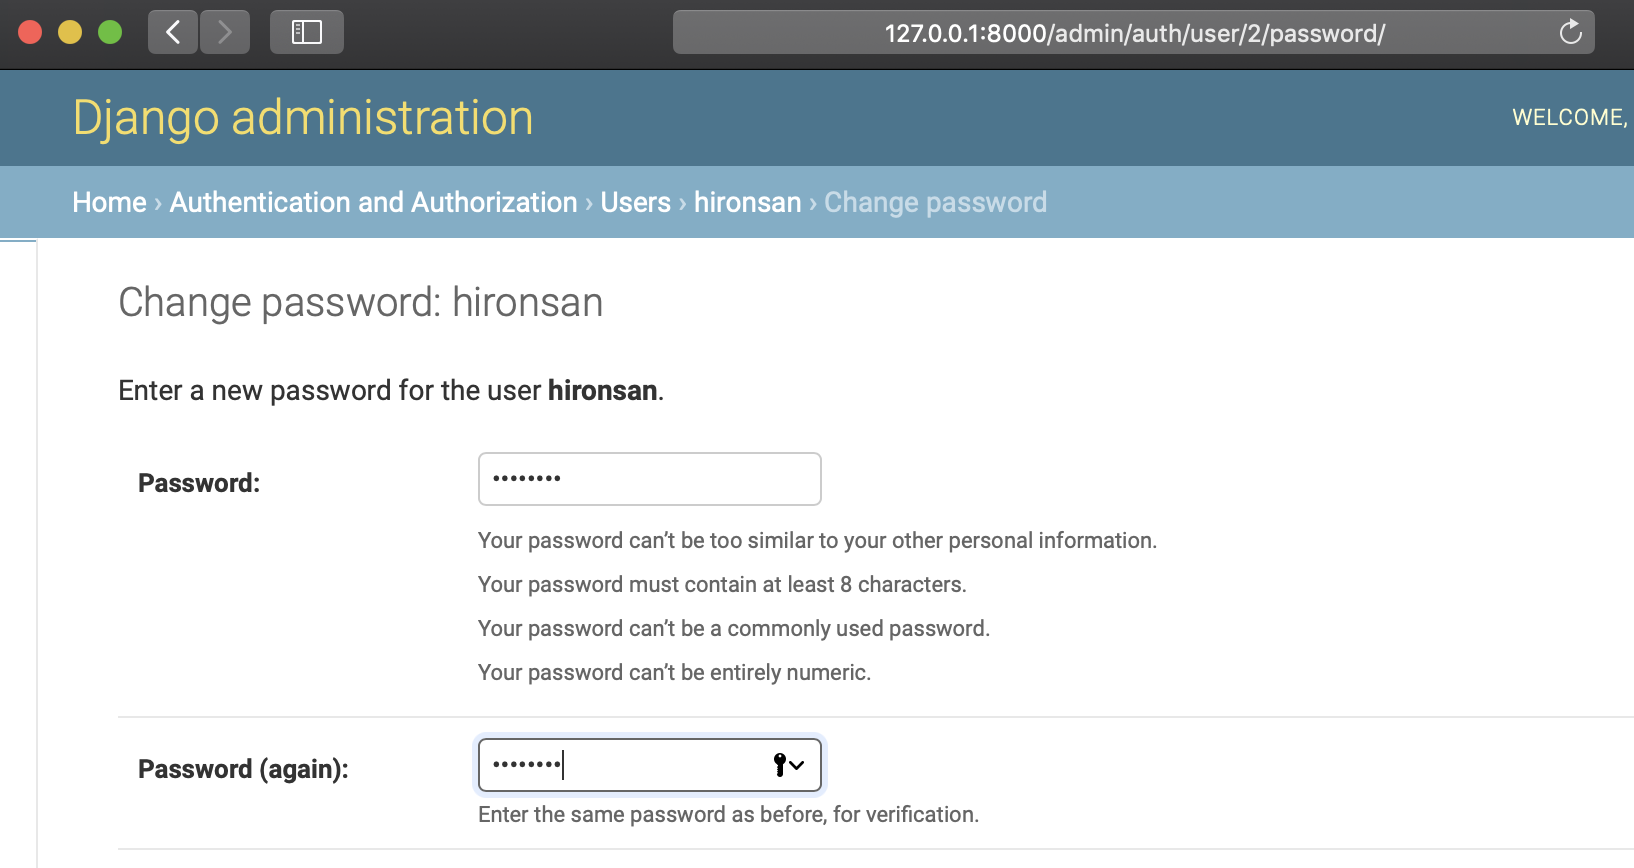
After showing a form below, change password there:
I can't upload my data
Please check the following list.
- File encoding:
UTF-8is appropriate. - Filename: alphabetic file name is suitable.
- File format selection: File format radio button should be selected properly.
- When you are using JSON/JSONL: Confirm JSON data is valid.
- You can use JSONLint or some other tool (when JSONL, pick one data and check it).
- When you are using CSV: Confirm CSV data is valid.
- You can use Excel or some tools that have import CSV feature.
- Lack of line: Data file should not contain blank line.
- Lack of field: Data file should not contain blank field.
You don't need your real & all data to validate file format. The picked data & masked data is suitable if your data is large or secret.
I want to change port number
On production, edit docker-compose.prod.yml file: change 80:80 substring in nginx/ports section to <your_port>:80.
On development, edit docker-compose.dev.yml file: change 8000:8000 substring in backend/ports section to <your_port>:8000.
I want to update to the latest doccano image
- Execute
git pullto reflect the latest doccano. - Delete the volume that
doccano_node_modules,doccano_static_volume,doccano_venvanddoccano_www. Do not deletedoccano_postgres_databecause it stores your projects data. - Rebuild the doccano image.
The following commands are the procedure for 2~3.
❯ docker volume ls
DRIVER              VOLUME NAME
local               doccano_node_modules
local               doccano_postgres_data
local               doccano_static_volume
local               doccano_venv
local               doccano_www
❯ docker volume rm doccano_node_modules doccano_static_volume doccano_venv doccano_www
❯ docker-compose -f docker-compose.prod.yml build --no-cache
django.db.utils.OperationalError: no such function: JSON_VALID
doccano uses JSONField on SQLite. So you need to enable the JSON1 extension on Python's sqlite3 library. If the extension is not enabled on your installation, a system error will be raised. This is especially related to the user who uses macOS and Python which is less than 3.7, Windows and Python which is less than 3.9.
If you have this problem, please try the following:
CSRF failed
If you have this problem, please set CSRF_TRUSTED_ORIGINS environment variable to your domain name. For example, if your domain name is example.com, please set CSRF_TRUSTED_ORIGINS=example.com. In the debug mode, the default value is http://127.0.0.1:3000, http://0.0.0.0:3000, and http://localhost:3000. If you are using Docker Compose, please set CSRF_TRUSTED_ORIGINS in docker-compose.prod.yml:
backend:
    image: doccano/doccano:backend
    environment:
      ...
      DJANGO_SETTINGS_MODULE: "config.settings.production"
      CSRF_TRUSTED_ORIGINS: "http://192.168.10.3:3000"